
Short Description
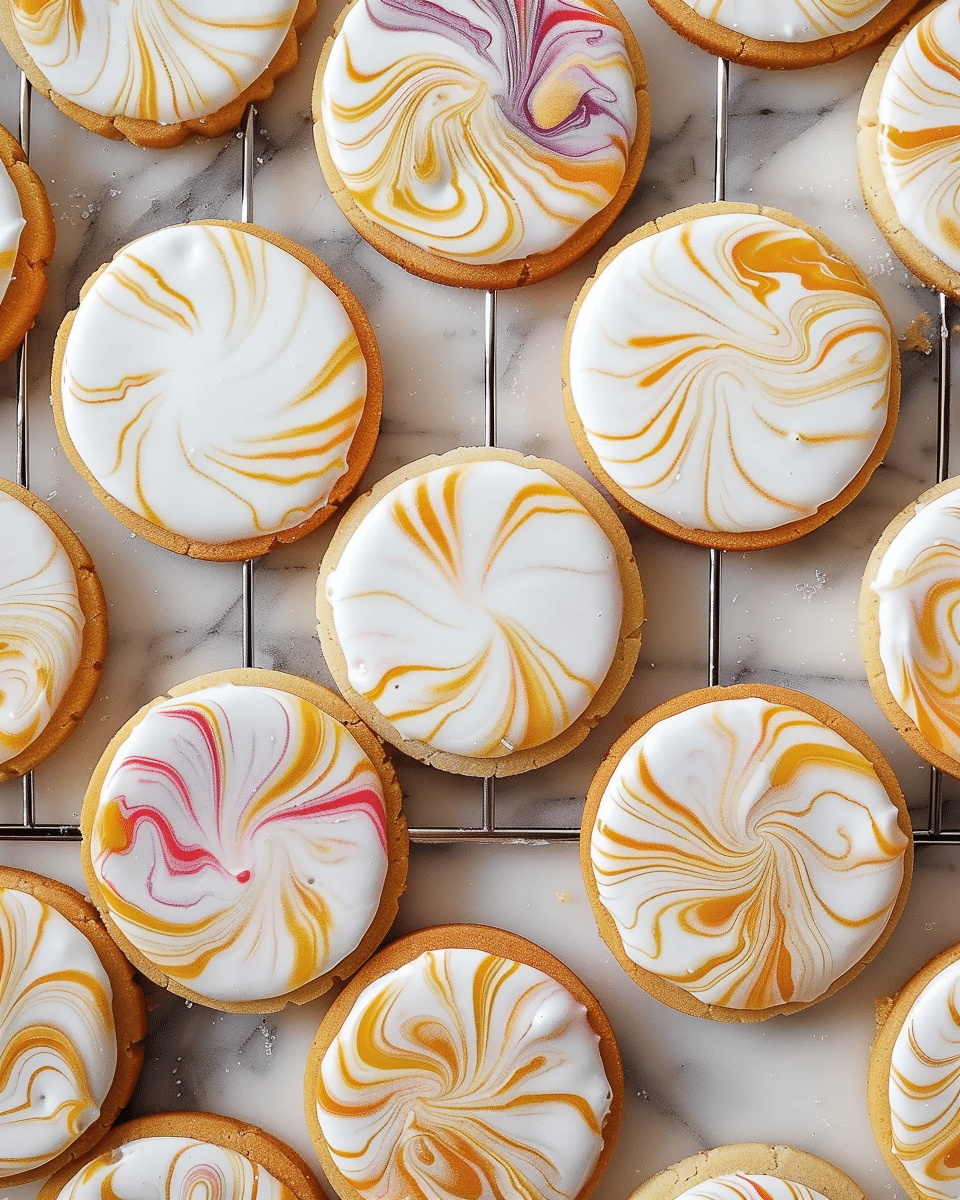
Marbled Sugar Cookies are a delightful treat with a vibrant, decorative icing that’s as fun to make as it is to eat. These buttery, slightly tangy biscuits are topped with a beautiful marbled royal icing, making them perfect for special occasions, holidays, or just as a colorful snack. The zesty lemon flavor adds a refreshing twist to the classic sugar cookie.
Why You’ll Love This Recipe
These Marbled Sugar Cookies are not only visually stunning but also deliciously light and buttery. The lemon zest adds a subtle citrus flavor that balances the sweetness of the cookies and icing. The marbled royal icing gives the cookies a unique and artistic look, making them perfect for gifting or adding to a cookie platter. Plus, they’re fun to decorate, so you can get creative with your colors!

Ingredients
For the Biscuits:
- 100g caster sugar
- 175g butter
- 1 egg yolk
- 300g plain flour
- Zest of 1 lemon
For the Icing:
- 1 egg white
- 150g icing sugar
- 1 tsp lemon juice
- A few teaspoons water
- Gel food colouring
(Tip: You’ll find the full list of ingredients and measurements in the recipe card below.)
Directions
- Make the Biscuit Dough: In a large mixing bowl, combine the softened butter and caster sugar until smooth (they don’t need to be light and fluffy). Add the egg yolk (set aside the egg white for the icing) and mix again.
- Add the Zest and Flour: Stir in the lemon zest and plain flour. Continue mixing until a soft dough forms. Knead briefly with your hands to bring it together into a ball. Wrap the dough in clingfilm and chill in the fridge for 15 minutes.
- Preheat the Oven: Preheat the oven to 160°C (320°F) and line two large baking trays with baking parchment. Lightly flour your work surface and roll the dough out to a thickness of about a pound coin.
- Cut the Biscuits: Use your favorite cookie cutter (around 6cm works well) to cut out shapes from the dough. Place them on the prepared baking trays, re-rolling the dough scraps as needed.
- Bake the Biscuits: Bake in the preheated oven for 12-14 minutes, or until the edges just begin to turn golden. The biscuits won’t feel crispy at first, but they will firm up as they cool. Let the cookies cool completely on the tray.
- Make the Royal Icing: Use an electric whisk to beat the egg white until soft peaks form. Gradually add half of the icing sugar, then whisk until combined. Add the remaining icing sugar and lemon juice, and continue whisking for 8-10 minutes until the icing is very stiff.
- Loosen the Icing: Slowly add water, 1 tsp at a time, to loosen the icing. Aim for a consistency where a trail of icing takes about 10 seconds to disappear into the rest of the mixture. Once you’ve reached the desired consistency, set the icing aside.
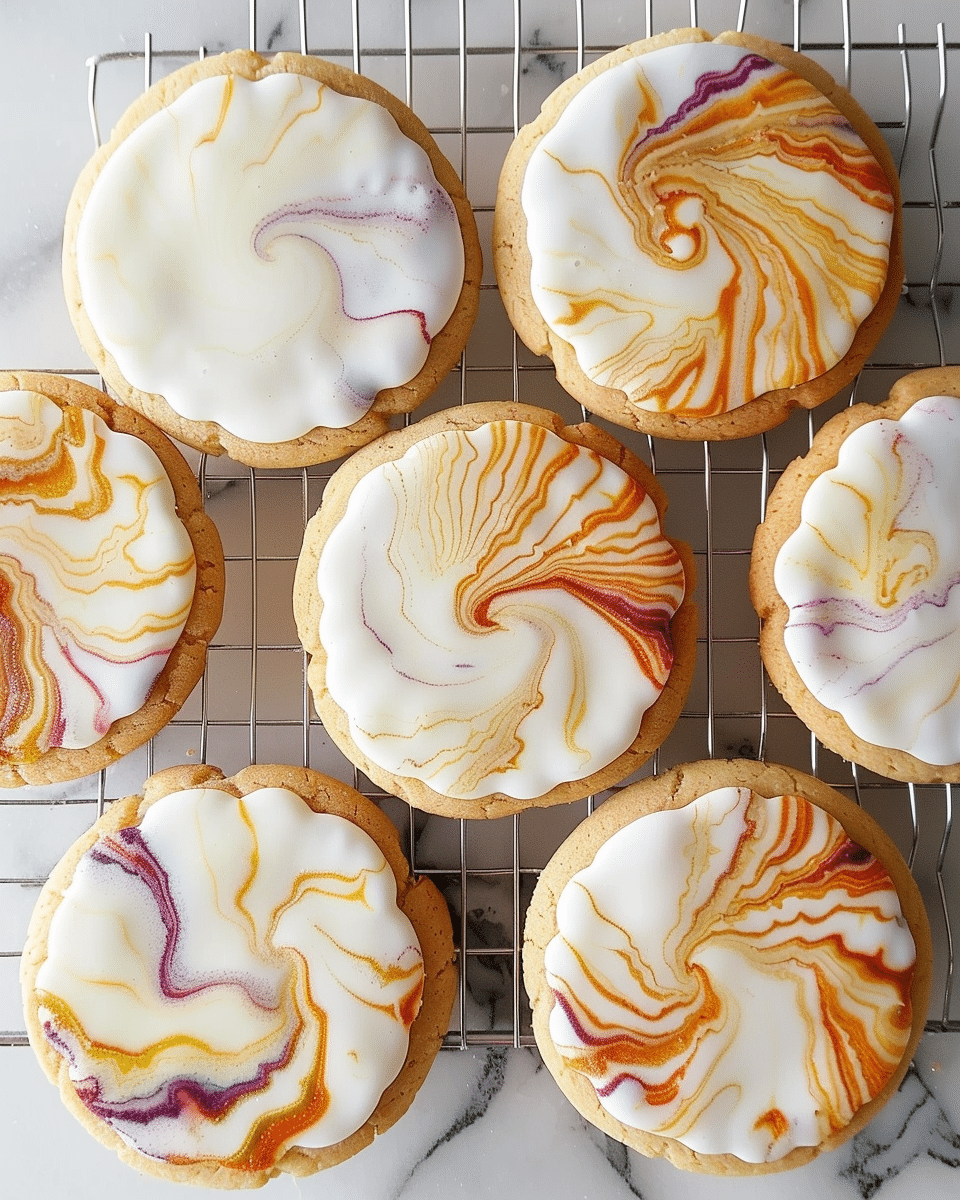
- Add Color to the Icing: Dot small amounts of gel food coloring onto the icing. Use a skewer to swirl the colors together and create a marbled effect.
- Dip the Biscuits: Dip the face of each biscuit into the marbled icing. Shake off any excess and set the cookies on a cooling rack to dry. Repeat with the remaining biscuits, topping up the color in the bowl as needed.
- Let the Icing Set: Allow the marbled icing to set for at least 12 hours, preferably overnight, before enjoying the cookies.
Servings and Timing
- Servings: About 30 cookies
- Prep Time: 25 minutes
- Cook Time: 12-14 minutes
- Cooling/Setting Time: 12 hours (preferably overnight)
- Total Time: 12 hours 40 minutes
Variations
- Colorful Icing: Use different colors of gel food coloring to create a rainbow effect or match your holiday theme.
- Spices: Add ground cinnamon or nutmeg to the dough for a warm, spiced twist.
- Nuts or Sprinkles: Decorate the cookies with finely chopped nuts or edible sprinkles on top of the marbled icing for extra texture and flavor.
Storage/Reheating
- Storage: Store the marbled sugar cookies in an airtight container at room temperature for up to 1 week.
- Freezing: You can freeze the baked, iced cookies for up to 3 months. Make sure they’re completely set before wrapping them tightly in plastic wrap and placing them in a freezer-safe container.

FAQs
1. Can I use margarine instead of butter?
While butter is recommended for its flavor and texture, margarine can be used as a substitute if necessary, though the cookies may not have the same richness.
2. Can I skip the lemon zest?
Yes, you can omit the lemon zest if you prefer a more neutral flavor or want to add a different flavor, such as vanilla or almond extract.
3. What if my royal icing is too runny?
If your icing is too runny, add more icing sugar to stiffen it up until it reaches the desired consistency.
4. Can I use egg substitute for the egg white in the icing?
Yes, you can use aquafaba (chickpea brine) or a store-bought egg replacer for the egg white in the royal icing.
5. Can I make these cookies without the icing?
Yes, the cookies are still delicious without the icing. You can also glaze them with a simple sugar glaze if you prefer something simpler.
6. How do I get the perfect marbled effect?
Be sure to use a skewer or toothpick to gently swirl the gel food coloring into the icing. Don’t over-mix, as you want the colors to remain distinct.
7. Can I make the dough ahead of time?
Yes, the dough can be made ahead and stored in the refrigerator for up to 2 days before rolling it out and baking.
8. Can I use royal icing in a different color?
Absolutely! You can use any color of food coloring that suits your theme, or even create multi-colored marbling.
9. How can I make the icing stiffer?
To make the icing stiffer, add more icing sugar, a little at a time, until you achieve the desired consistency.
10. How long should the cookies set before eating?
For the best results, allow the icing to set for at least 12 hours, preferably overnight, to ensure that it hardens completely.
Conclusion
Marbled Sugar Cookies are a charming and delicious treat, perfect for any occasion. With their buttery, lemony biscuit base and vibrant, marbled icing, they are as fun to decorate as they are to eat. Whether you’re hosting a gathering or gifting homemade goodies, these cookies will surely impress and delight.
Print
Marbled Sugar Cookies
- Total Time: 12 hours 40 minutes
- Yield: About 30 cookies
- Diet: Vegetarian
Description
Marbled Sugar Cookies are a delightful treat with a vibrant, decorative icing that’s as fun to make as it is to eat. These buttery, slightly tangy biscuits are topped with a beautiful marbled royal icing, making them perfect for special occasions, holidays, or just as a colorful snack. The zesty lemon flavor adds a refreshing twist to the classic sugar cookie.
Ingredients
For the Biscuits:
100g caster sugar
175g butter
1 egg yolk
300g plain flour
Zest of 1 lemon
For the Icing:
1 egg white
150g icing sugar
1 tsp lemon juice
A few teaspoons water
Gel food colouring
Instructions
- Make the Biscuit Dough: In a large mixing bowl, combine the softened butter and caster sugar until smooth (they don’t need to be light and fluffy). Add the egg yolk (set aside the egg white for the icing) and mix again.
- Add the Zest and Flour: Stir in the lemon zest and plain flour. Continue mixing until a soft dough forms. Knead briefly with your hands to bring it together into a ball. Wrap the dough in clingfilm and chill in the fridge for 15 minutes.
- Preheat the Oven: Preheat the oven to 160°C (320°F) and line two large baking trays with baking parchment. Lightly flour your work surface and roll the dough out to a thickness of about a pound coin.
- Cut the Biscuits: Use your favorite cookie cutter (around 6cm works well) to cut out shapes from the dough. Place them on the prepared baking trays, re-rolling the dough scraps as needed.
- Bake the Biscuits: Bake in the preheated oven for 12-14 minutes, or until the edges just begin to turn golden. The biscuits won’t feel crispy at first, but they will firm up as they cool. Let the cookies cool completely on the tray.
- Make the Royal Icing: Use an electric whisk to beat the egg white until soft peaks form. Gradually add half of the icing sugar, then whisk until combined. Add the remaining icing sugar and lemon juice, and continue whisking for 8-10 minutes until the icing is very stiff.
- Loosen the Icing: Slowly add water, 1 tsp at a time, to loosen the icing. Aim for a consistency where a trail of icing takes about 10 seconds to disappear into the rest of the mixture. Once you’ve reached the desired consistency, set the icing aside.
- Add Color to the Icing: Dot small amounts of gel food coloring onto the icing. Use a skewer to swirl the colors together and create a marbled effect.
- Dip the Biscuits: Dip the face of each biscuit into the marbled icing. Shake off any excess and set the cookies on a cooling rack to dry. Repeat with the remaining biscuits, topping up the color in the bowl as needed.
- Let the Icing Set: Allow the marbled icing to set for at least 12 hours, preferably overnight, before enjoying the cookies.
Notes
- Colorful Icing: Use different colors of gel food coloring to create a rainbow effect or match your holiday theme.
- Spices: Add ground cinnamon or nutmeg to the dough for a warm, spiced twist.
- Nuts or Sprinkles: Decorate the cookies with finely chopped nuts or edible sprinkles on top of the marbled icing for extra texture and flavor.
- Prep Time: 25 minutes
- Cook Time: 12-14 minutes
- Category: Dessert
- Method: Baking
- Cuisine: American
Nutrition
- Serving Size: 1 cookie
- Calories: 150 kcal
- Sugar: 14 g
- Sodium: 15 mg
- Fat: 7 g
- Saturated Fat: 4 g
- Unsaturated Fat: 3 g
- Trans Fat: 0 g
- Carbohydrates: 20 g
- Fiber: 1 g
- Protein: 1 g
- Cholesterol: 35 mg


