
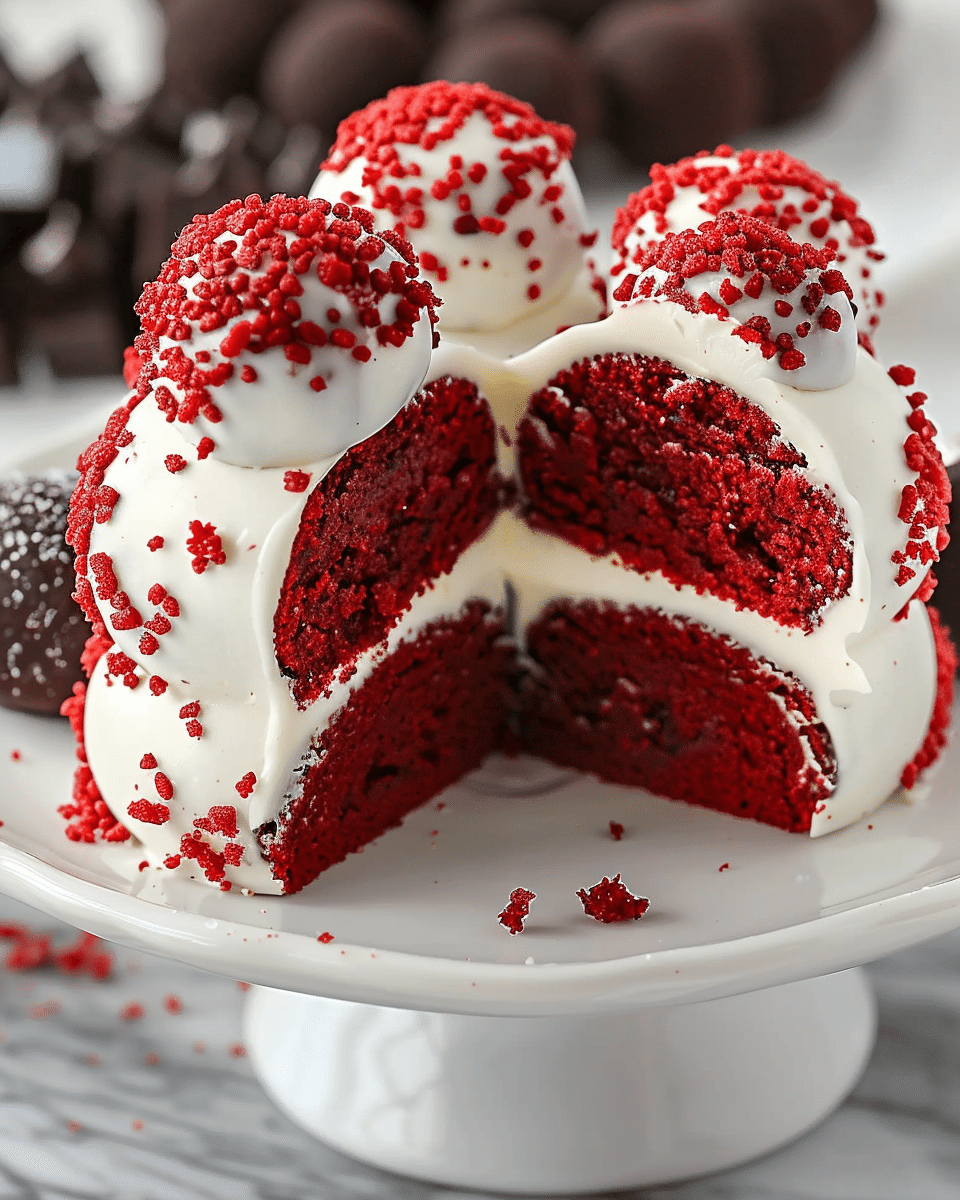
Red Velvet Oreo Cake is a show-stopping dessert that combines the rich flavors of a classic red velvet cake with the indulgence of creamy Oreo frosting. This layered cake, with its vibrant red color, velvety texture, and crunchy Oreo pieces, is perfect for any celebration or special occasion. The creamy cream cheese and butter frosting adds the perfect finishing touch to this decadent treat.
Why You’ll Love This Recipe
This Red Velvet Oreo Cake is everything you love about red velvet—moist, tender cake with a hint of cocoa—combined with the irresistible crunch of crushed Oreos in a creamy, dreamy frosting. The contrast between the rich cake and the crunchy Oreo frosting creates a delightful texture in every bite. Whether you’re hosting a party or simply indulging in a sweet treat, this cake will be the star of the show. It’s easy to make and sure to impress anyone who gets a slice!

Ingredients
For the cake:
- 2 cups all-purpose flour
- 1/2 cup unsweetened cocoa powder
- 1 1/2 cups granulated sugar
- 1 tsp baking soda
- 1/2 tsp salt
- 1 cup vegetable oil
- 1 cup buttermilk
- 2 large eggs
- 2 tbsp red food coloring
- 2 tsp vanilla extract
For the frosting:
- 8 oz cream cheese, softened
- 1/2 cup unsalted butter, softened
- 4 cups powdered sugar
- 1 cup crushed Oreos
(Tip: You’ll find the full list of ingredients and measurements in the recipe card below.)
Directions
- Prepare the Oven and Pans:
Preheat your oven to 350°F (175°C). Grease and flour two round 9-inch cake pans. - Mix Dry Ingredients:
In a medium bowl, whisk together the all-purpose flour, unsweetened cocoa powder, baking soda, and salt. Set aside. - Prepare the Wet Ingredients:
In a large mixing bowl, combine the granulated sugar and vegetable oil. Mix well until smooth. Add the eggs one at a time, beating well after each addition. Stir in the buttermilk, vanilla extract, and red food coloring until well combined. - Combine Wet and Dry Ingredients:
Gradually add the dry ingredients to the wet ingredients, mixing until just combined. Be careful not to overmix, as this can affect the cake’s texture. - Bake the Cake:
Divide the batter evenly between the prepared cake pans. Bake for 25-30 minutes, or until a toothpick inserted into the center of the cakes comes out clean. Let the cakes cool in the pans for 10 minutes before transferring them to a wire rack to cool completely. - Prepare the Frosting:
In a large mixing bowl, beat the softened cream cheese and butter together until fluffy and smooth. Gradually add the powdered sugar, a little at a time, beating well after each addition until the frosting is thick and smooth. Gently fold in the crushed Oreos. - Assemble the Cake:
Once the cakes have cooled completely, place one layer on a serving plate. Spread a generous amount of Oreo frosting on top. Place the second layer on top and frost the top and sides of the entire cake with the remaining frosting. - Serve and Enjoy:
Slice the cake and enjoy! For an extra touch, you can garnish the cake with more crushed Oreos on top or around the sides.
Servings and Timing
- Servings: 10-12 servings
- Prep Time: 20 minutes
- Cook Time: 25-30 minutes
- Total Time: 1 hour (including cooling time)
Variations
- Mini Cakes: You can make mini versions of this cake by using smaller cake pans or cupcakes. Just adjust the baking time accordingly.
- Add More Oreos: For extra Oreo flavor, mix more crushed Oreos into the batter or sprinkle them between the layers of frosting.
- Gluten-Free Version: Use a gluten-free flour blend in place of regular all-purpose flour to make this cake gluten-free.
- Oreo Truffle Decoration: Add a few whole Oreos on top of the cake for a stunning, decorative touch.
Storage/Reheating
- Storage: Store any leftover cake in an airtight container in the refrigerator for up to 4-5 days.
- Freezing: You can freeze the cake for up to 2 months. Wrap the cake tightly in plastic wrap and then foil before freezing. Let it thaw in the refrigerator before serving.
FAQs
1. Can I use regular food coloring instead of gel food coloring?
Yes, you can use regular liquid food coloring, but gel food coloring gives the cake a more vibrant red color and doesn’t alter the batter’s consistency as much.
2. Can I make this cake without buttermilk?
If you don’t have buttermilk, you can substitute it with regular milk mixed with a tablespoon of vinegar or lemon juice. Let it sit for 5 minutes before using.
3. Can I use a different type of frosting?
Yes, you can use a classic buttercream frosting or even whipped cream frosting if you prefer a lighter option. However, the cream cheese frosting pairs perfectly with the richness of the cake.
4. Can I make the cake ahead of time?
Yes, you can bake the cakes ahead of time and store them in an airtight container for up to 2 days. Frost the cake just before serving.
5. Can I use other types of Oreos in the frosting?
Absolutely! You can use different flavored Oreos like golden Oreos or mint Oreos for a fun twist on the flavor.
6. Can I use store-bought frosting instead of making my own?
Yes, you can use store-bought frosting, but homemade cream cheese frosting will give you a fresher, richer taste that complements the cake perfectly.
7. How do I get the frosting smooth on the cake?
To get a smooth finish, use an offset spatula to spread the frosting evenly. If the frosting gets too stiff, you can gently warm it up with your hands or a spatula before applying it to the cake.
8. Can I decorate the cake with something other than Oreos?
Yes, you can decorate the cake with chocolate shavings, sprinkles, or even fresh fruit for a lighter option.
9. Can I make this cake without the food coloring?
Yes, you can omit the food coloring if you prefer a more traditional chocolate cake. The flavor will remain the same, but the cake will not have the signature red hue.
10. Can I make this cake in a single layer?
Yes, you can bake the cake in a 9×13-inch baking pan for a single-layer version. Just adjust the baking time to 30-35 minutes, checking for doneness with a toothpick.
Conclusion
Red Velvet Oreo Cake is a deliciously indulgent dessert that combines the best of red velvet cake with the fun and flavor of Oreos. With its rich, moist cake and creamy Oreo frosting, it’s a showstopper that’s perfect for any celebration or sweet treat craving. Easy to make and hard to resist, this cake will surely impress your family and friends every time!
Print
Red Velvet Oreo Cake Recipe
- Total Time: 1 hour (including cooling time)
- Yield: 10-12 servings
- Diet: Vegetarian
Description
Red Velvet Oreo Cake is an indulgent dessert that combines the rich flavors of classic red velvet cake with the creamy sweetness of Oreo frosting. The layers of moist red velvet cake, topped with a luscious cream cheese and butter frosting filled with crushed Oreos, create a show-stopping treat perfect for any celebration or special occasion. This dessert is sure to impress and satisfy your sweet tooth!
Ingredients
For the cake:
2 cups all-purpose flour
1/2 cup unsweetened cocoa powder
1 1/2 cups granulated sugar
1 tsp baking soda
1/2 tsp salt
1 cup vegetable oil
1 cup buttermilk
2 large eggs
2 tbsp red food coloring
2 tsp vanilla extract
For the frosting:
8 oz cream cheese, softened
1/2 cup unsalted butter, softened
4 cups powdered sugar
1 cup crushed Oreos
Instructions
-
Prepare the Oven and Pans:
-
Preheat your oven to 350°F (175°C). Grease and flour two 9-inch round cake pans.
-
-
Mix Dry Ingredients:
-
In a medium bowl, whisk together the flour, cocoa powder, baking soda, and salt. Set aside.
-
-
Prepare Wet Ingredients:
-
In a large mixing bowl, combine the sugar and vegetable oil, mixing until smooth. Add eggs one at a time, beating well after each addition. Stir in the buttermilk, vanilla extract, and red food coloring until fully combined.
-
-
Combine Wet and Dry Ingredients:
-
Gradually add the dry ingredients to the wet ingredients, mixing until just combined. Be careful not to overmix.
-
-
Bake the Cake:
-
Divide the batter evenly between the prepared cake pans. Bake for 25-30 minutes, or until a toothpick inserted comes out clean. Let cool in pans for 10 minutes, then transfer to a wire rack to cool completely.
-
-
Prepare the Frosting:
-
In a large bowl, beat the cream cheese and butter until fluffy. Gradually add powdered sugar, mixing until smooth. Gently fold in the crushed Oreos.
-
-
Assemble the Cake:
-
Once the cakes have cooled, place one layer on a serving plate. Spread a generous amount of Oreo frosting on top. Place the second layer on top, and frost the top and sides of the entire cake with the remaining frosting.
-
-
Serve and Enjoy:
-
Slice and enjoy! Optionally, garnish with more crushed Oreos on top or around the sides for extra decoration.
-
Notes
Mini Cakes: Use smaller cake pans or make cupcakes for mini versions of this dessert. Adjust baking times accordingly.
Add More Oreos: For extra Oreo flavor, sprinkle some crushed Oreos between the layers or mix them into the batter.
Gluten-Free Version: Substitute the all-purpose flour with a gluten-free flour blend.
Oreo Truffle Decoration: Top the cake with whole Oreos or Oreo truffles for a decorative touch.
- Prep Time: 20 minutes
- Cook Time: 25-30 minutes
- Category: Dessert, Cake, Celebration Cakes
- Method: Baking
- Cuisine: American


